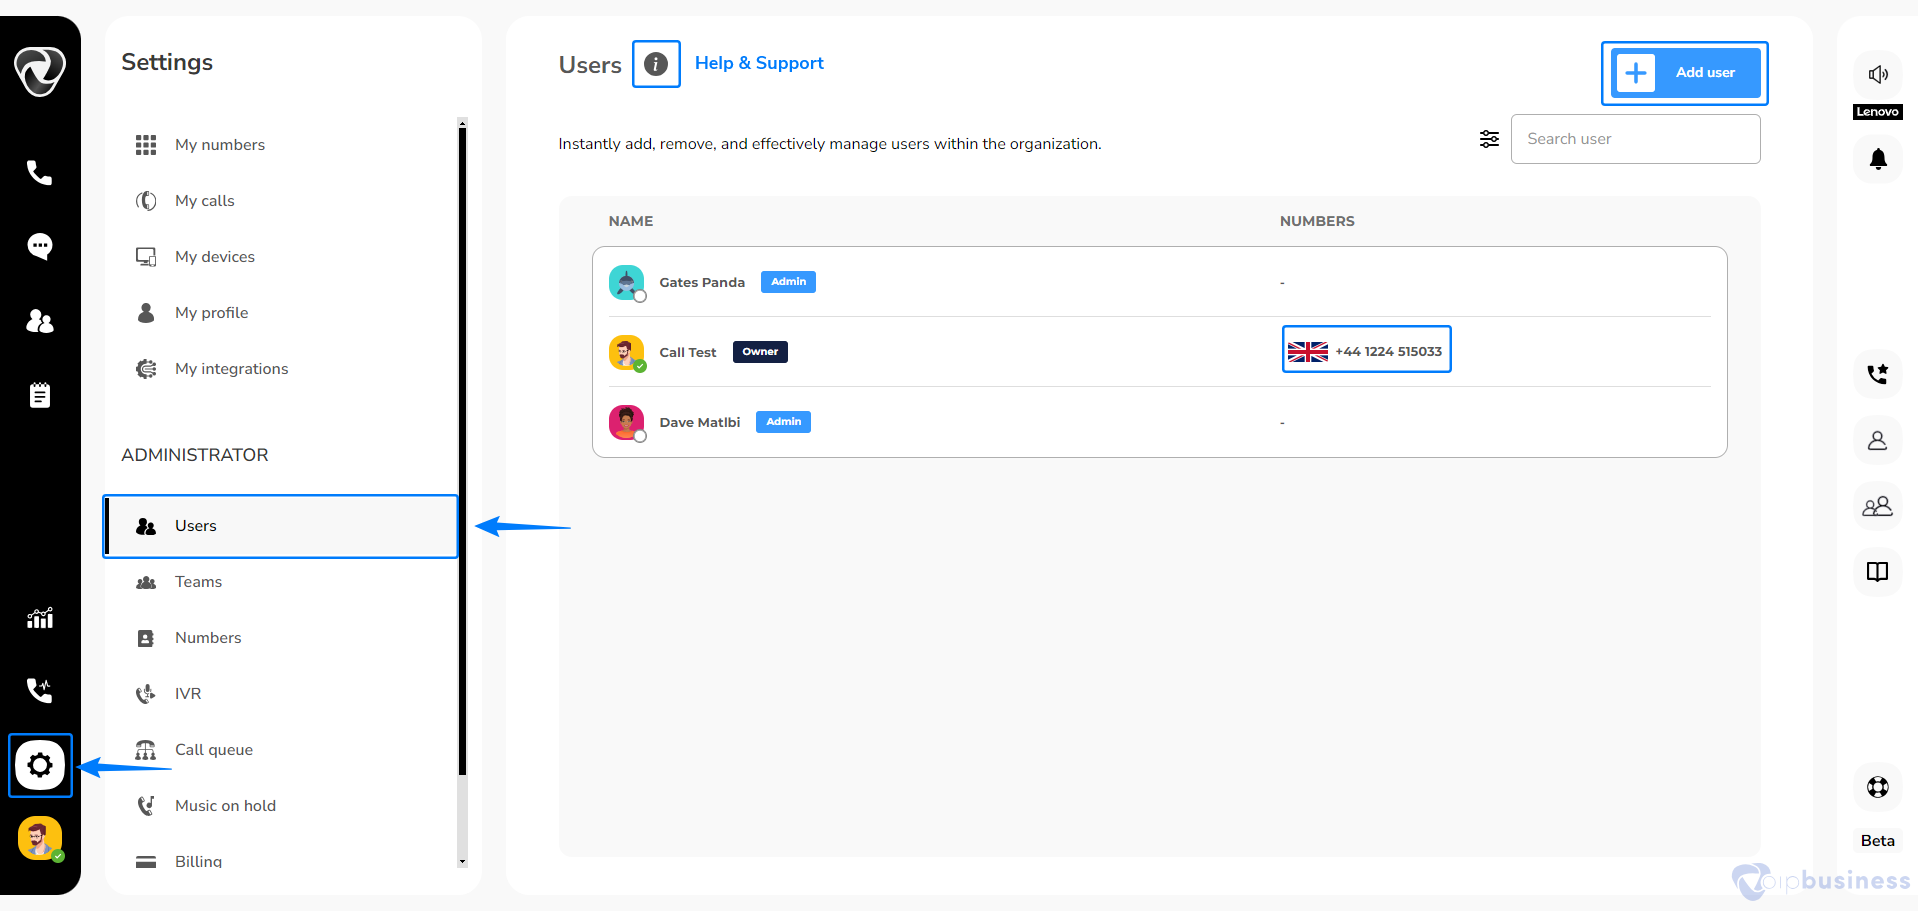
Log in to your account to view and manage users. Go to “settings” and click “users”. Here you can:
Add users
Create sub-users
Edit user’s settings
Check users flow
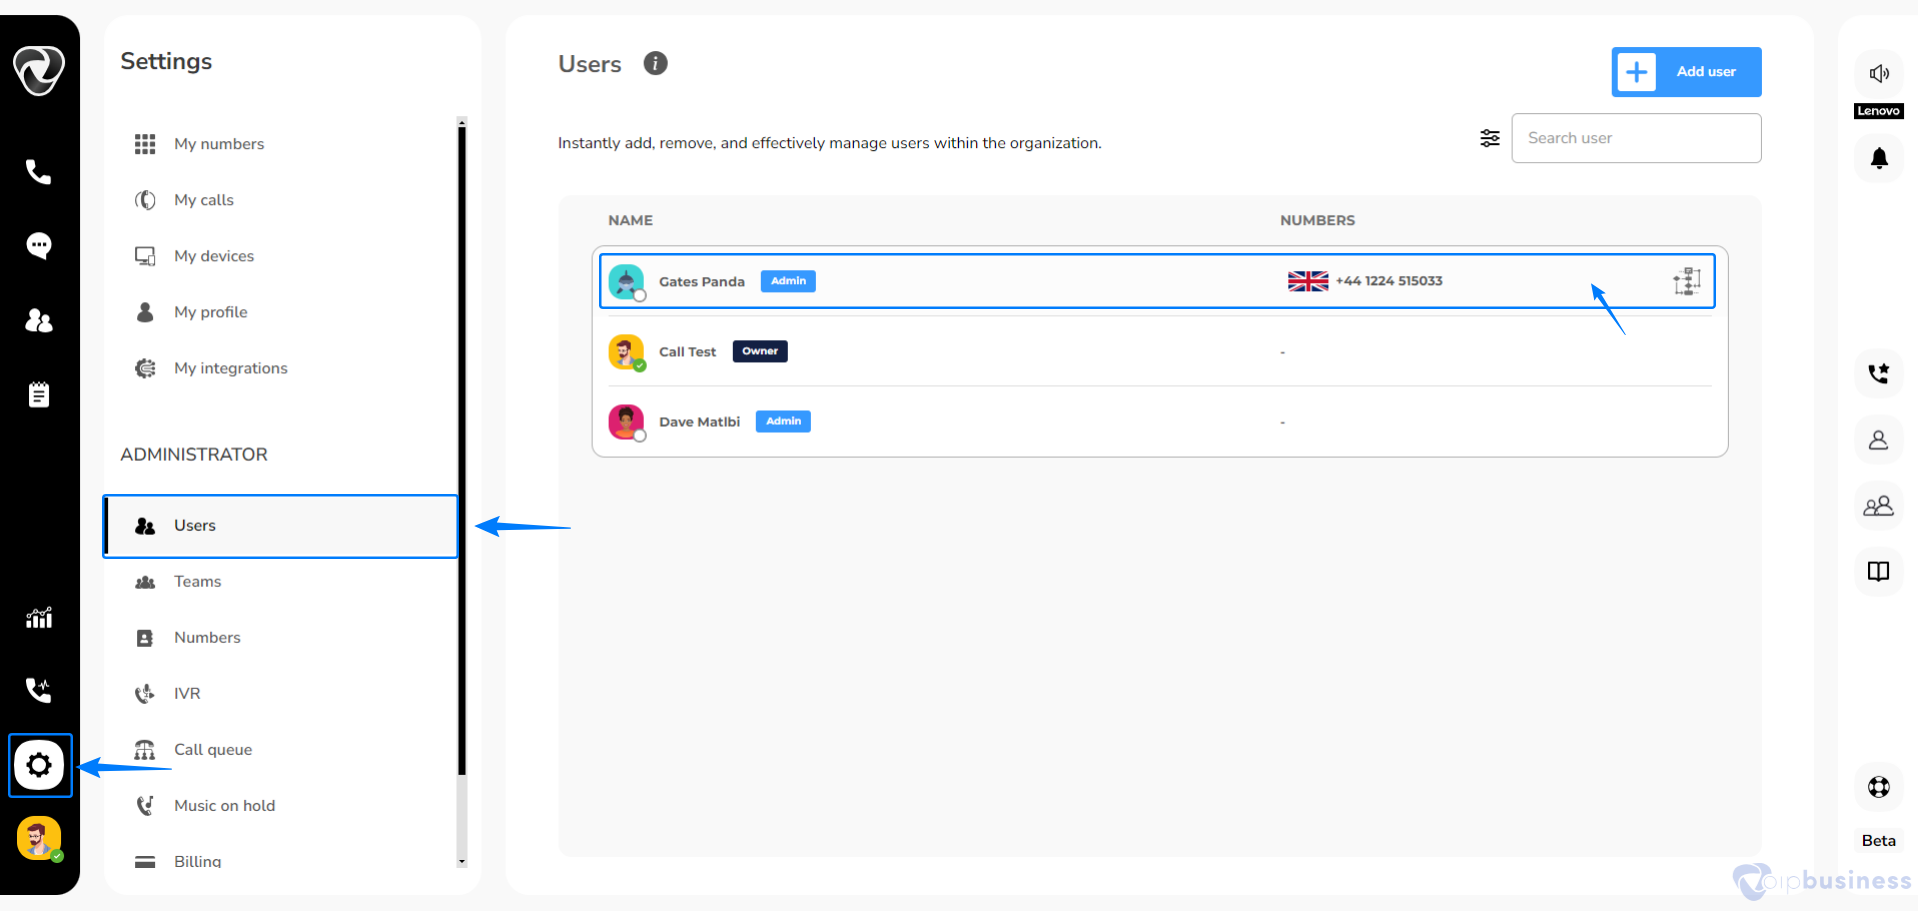
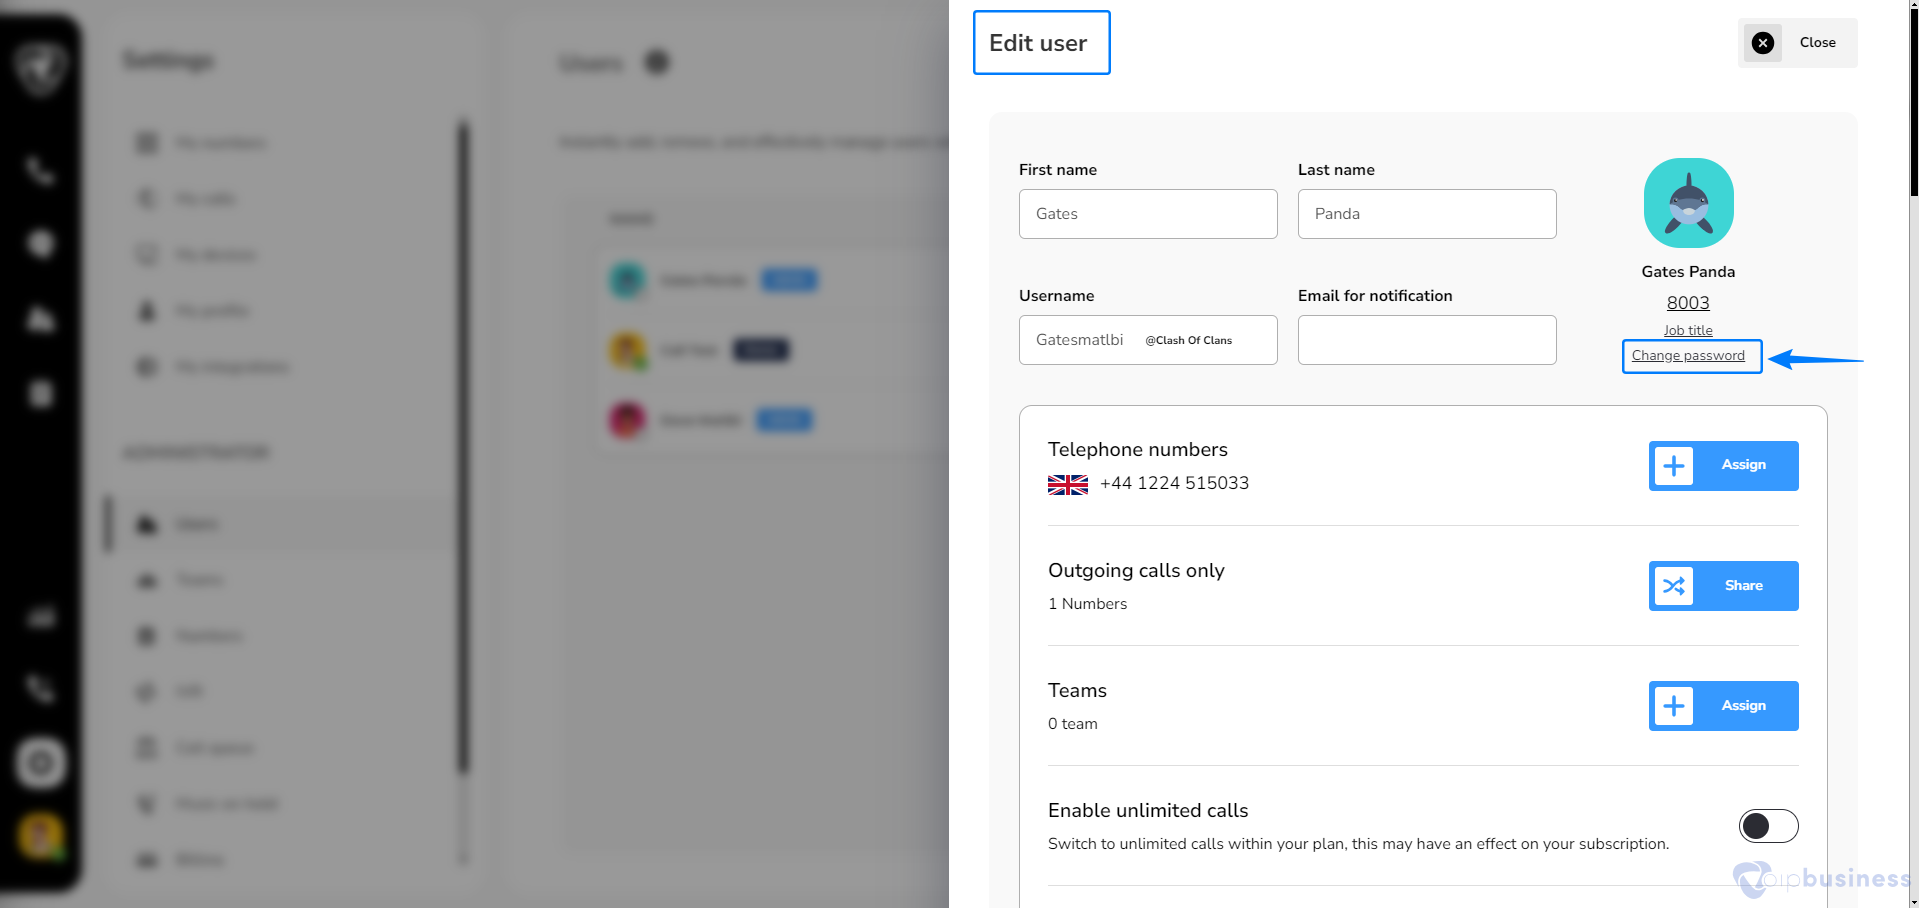
2. Assigning a number to a user
Easily assign numbers to users or sub-departments, allowing each team member or call queue to have a dedicated extension for seamless communication.
Go to “settings” and click “Users”
Select a “specific user”.
Click “Assign” next to “Telephone numbers”
Select a number from “Available numbers” and click “Done”
You can also assign a number to a user by:
Go to “settings” and click “numbers”
Select a “number” and click “Assign” next to “incoming calls”
Select a “user” and click “Done”
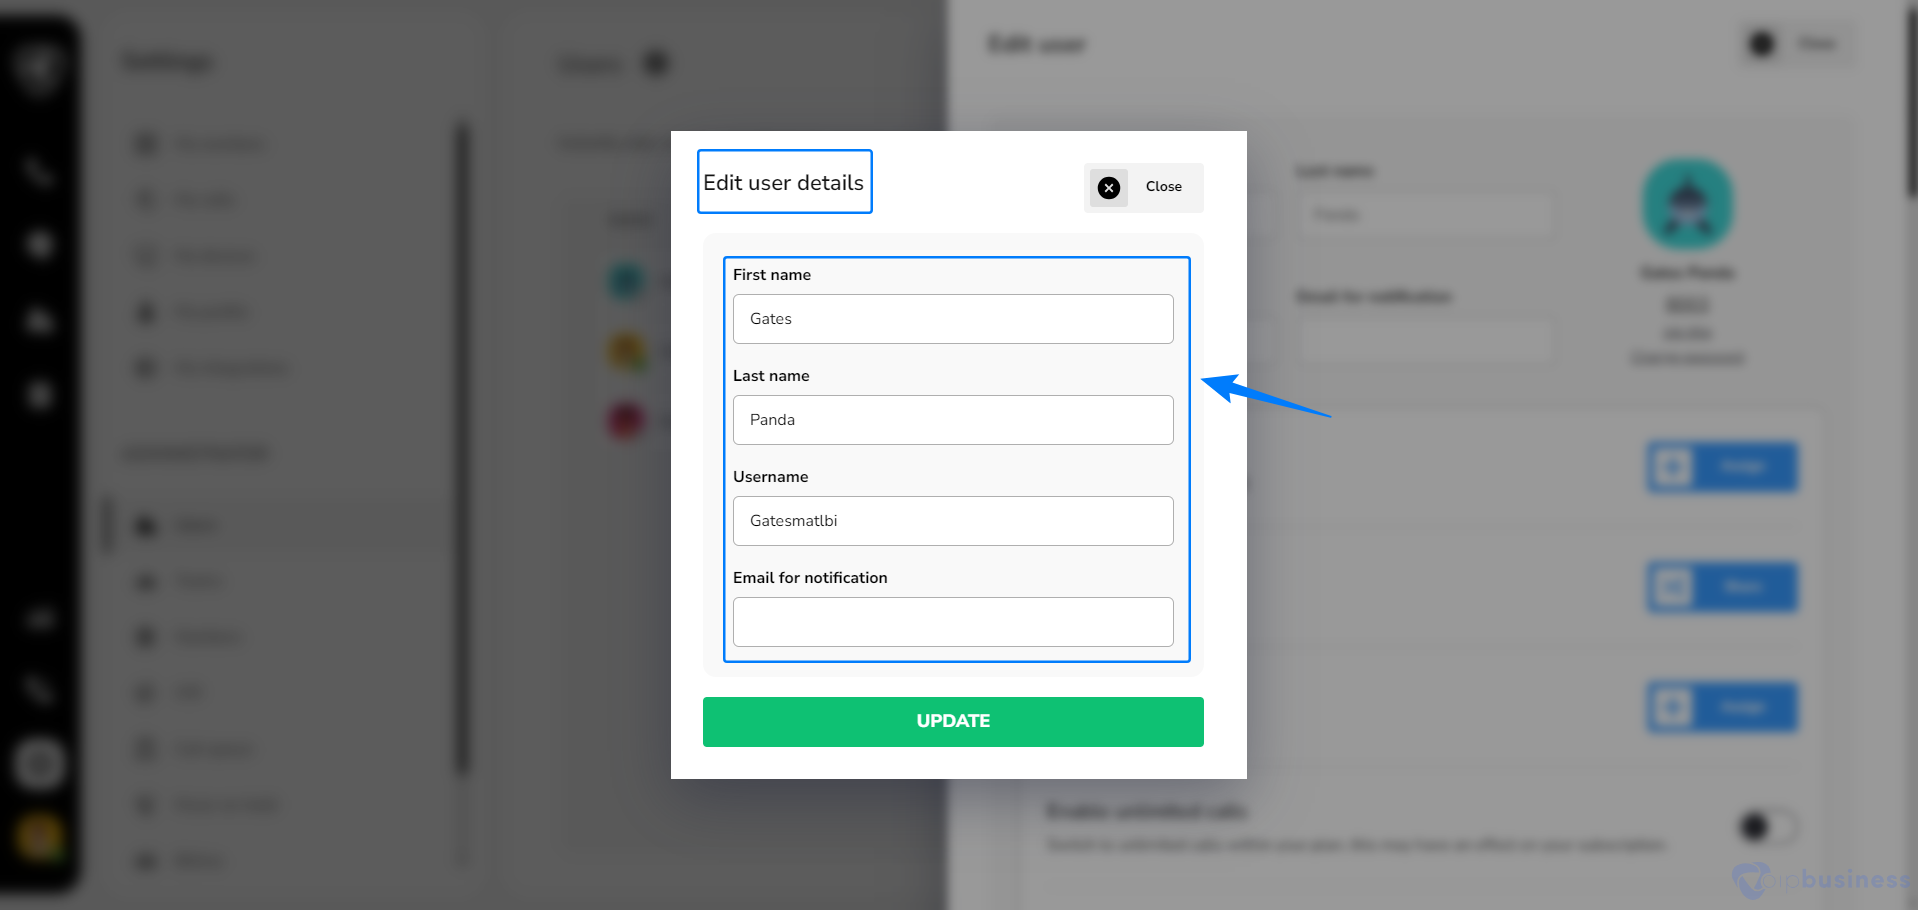
3. Updating User Information
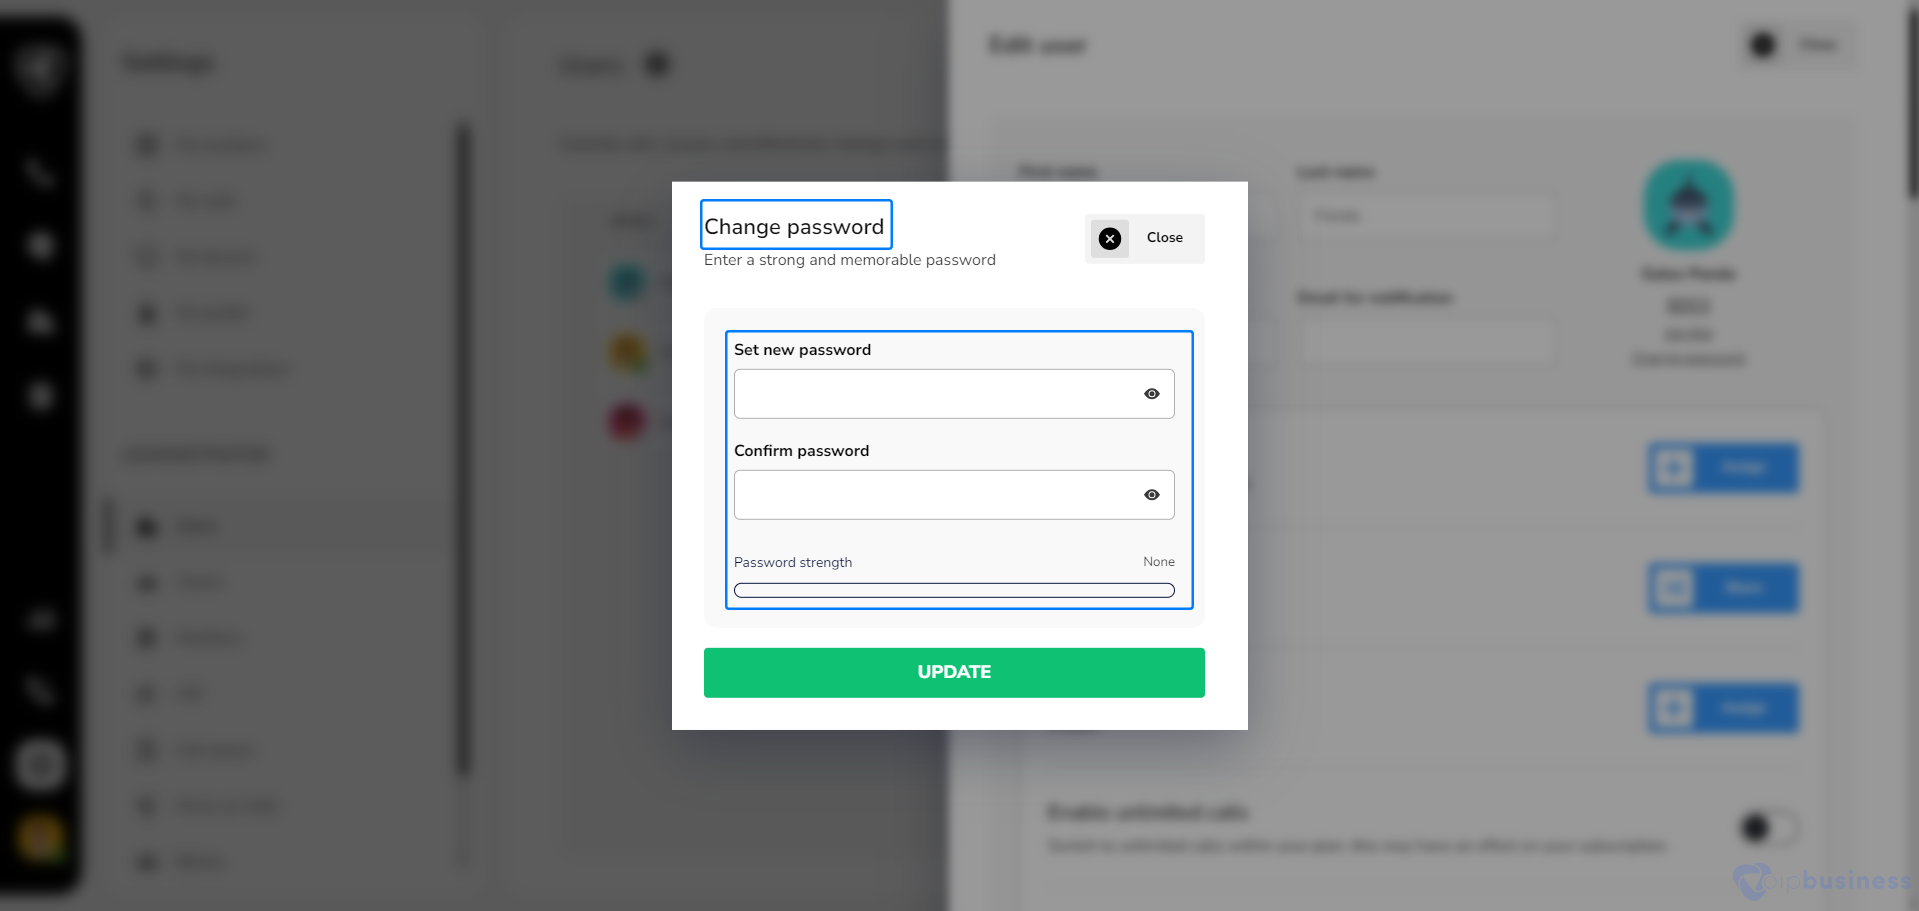
Update user information, including email, personal details, and login credentials.
Go to “users” in “Administration settings”
Select a “user” for which you want to edit info.
Make desired changes and click “close”
Example:
Suppose you want to update an employee’s email address. You can do it easily by following the steps below:
Log in to your account.
Navigate to Users in “Administration settings”
Select a “user” from the user list
Update the “email address” of desired user
Now that user can log in using that updated email.
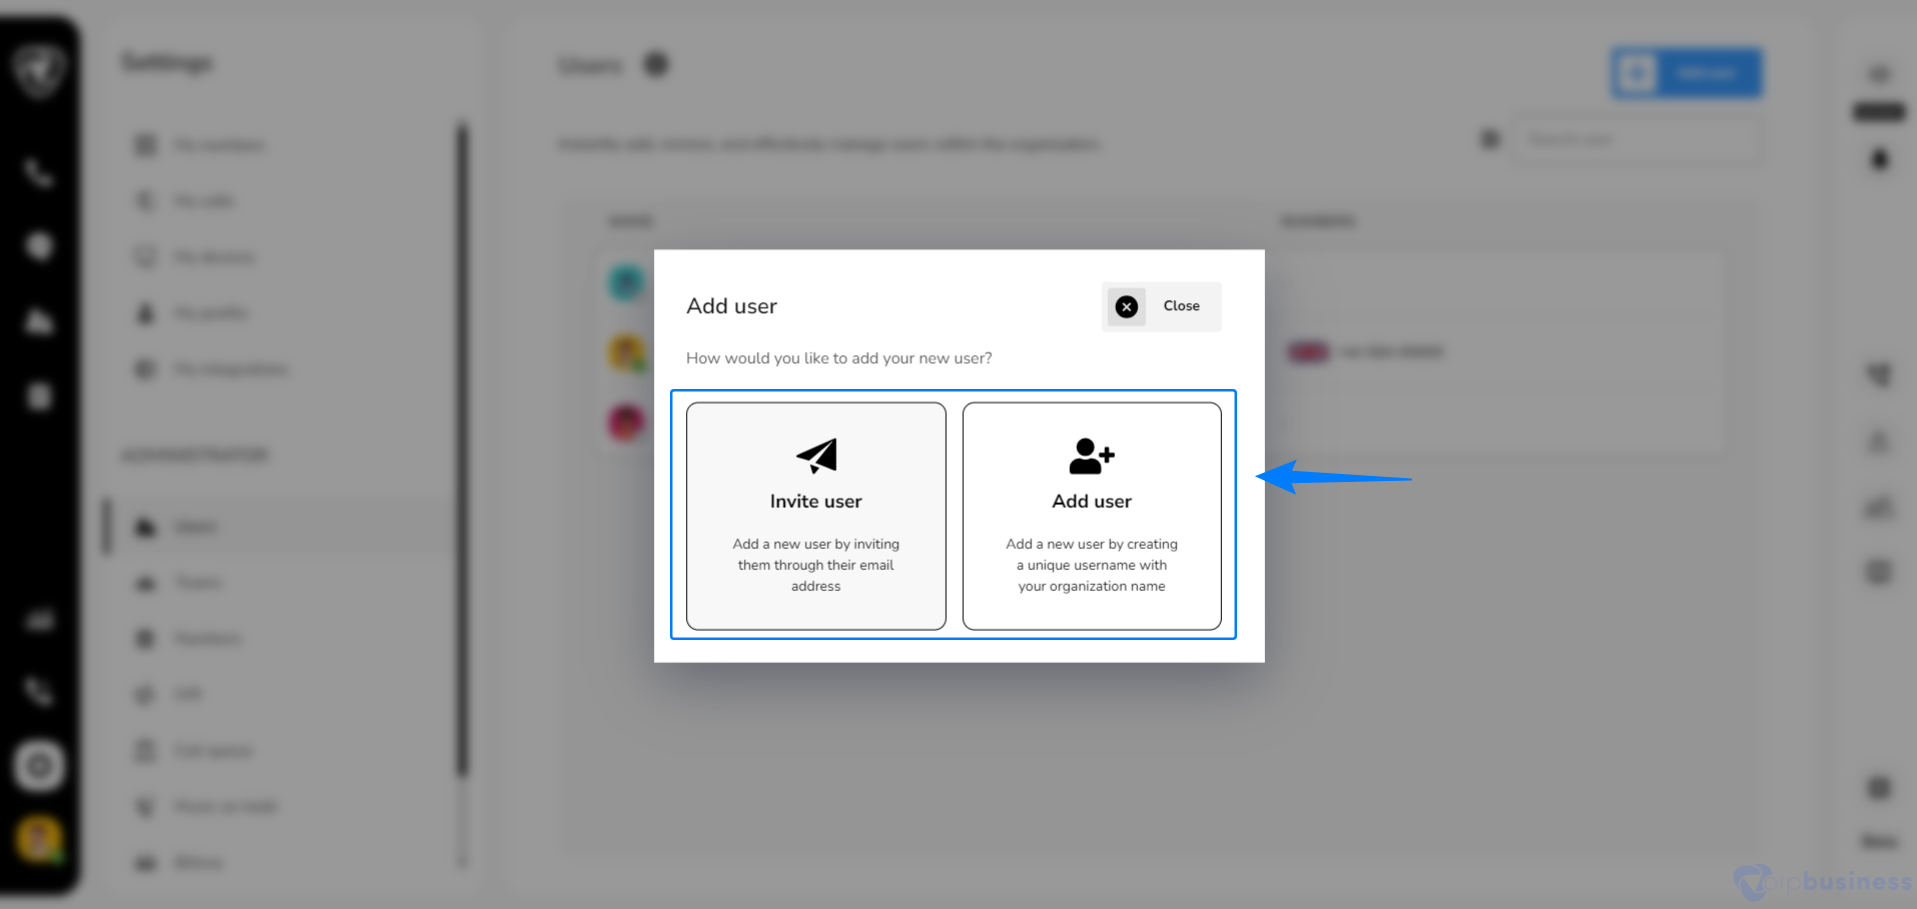
4. Types of users:
Admin can create two types of users: a sub-user and an invitation user, also called a user by email.
User by username: Internal users within the organization.
User by email: External users invited to join via email.
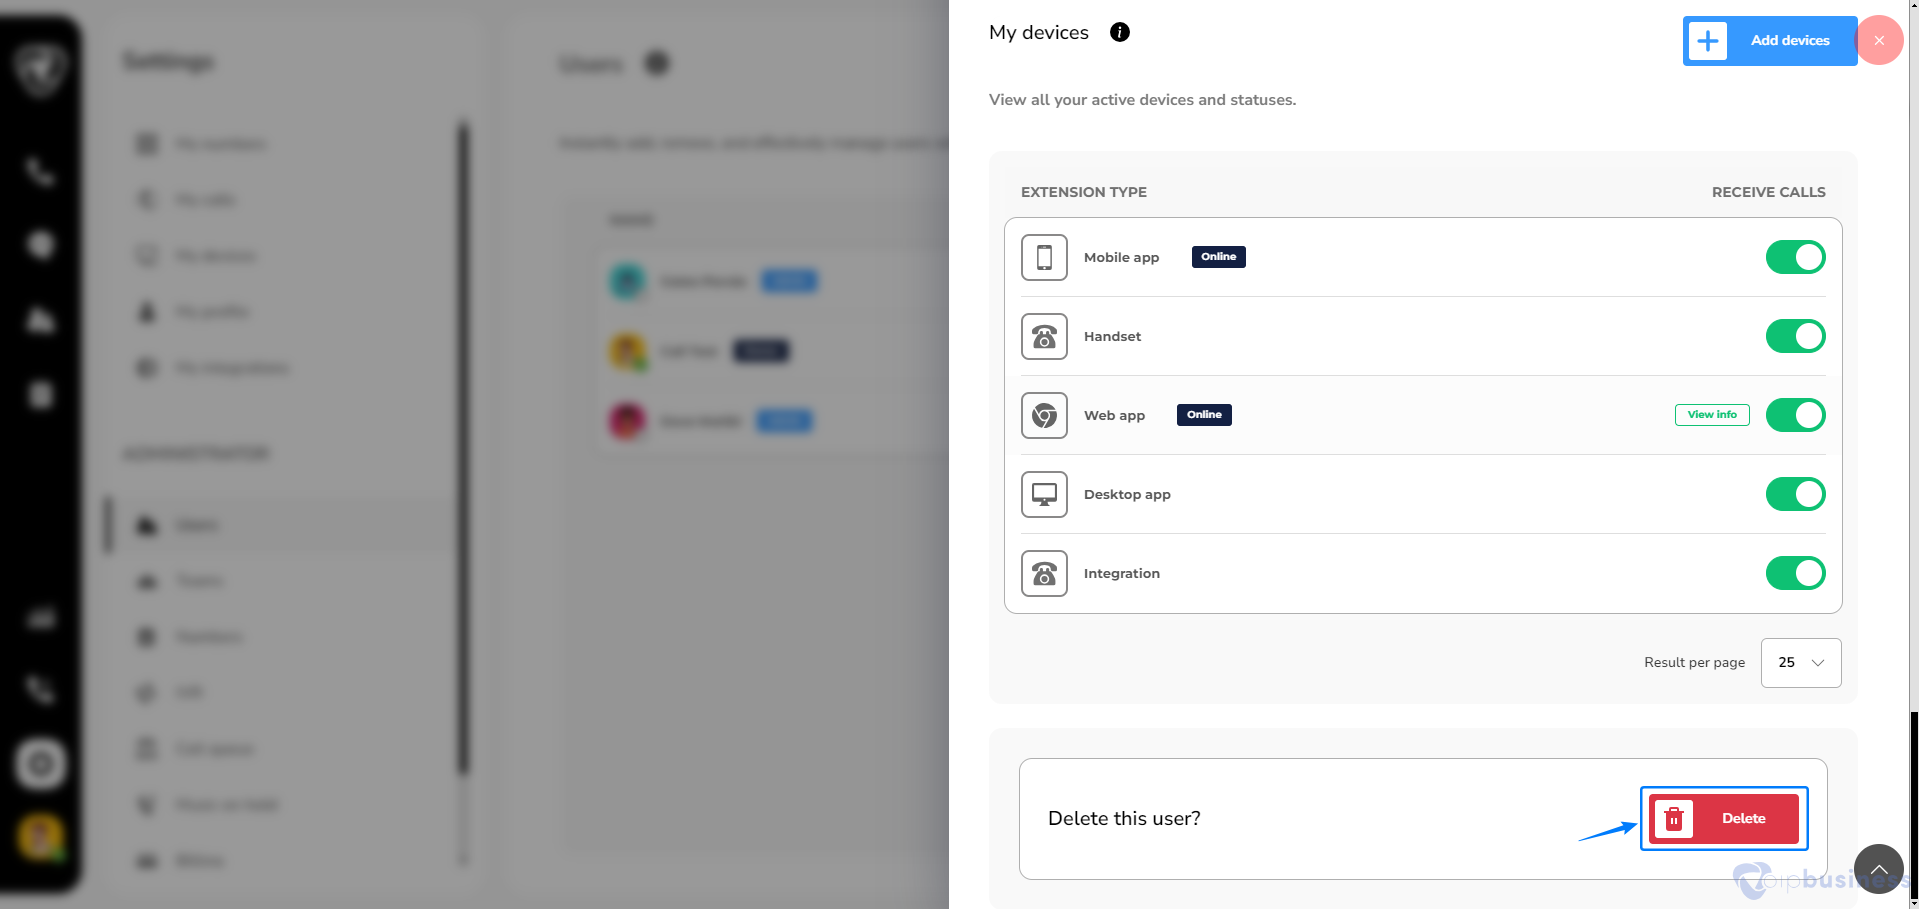
6. Deleting a User
Remove a user from your account whenever you want:
Go to Settings > Users and select a user.
Scroll down to “delete this user”.
Click the “delete” button and a confirmation pop up appears.
Click “yes” to delete a user.
We initiate immediate data deletion for free users and process paid user deletion requests within 28 days. For further information, kindly reach out to our dedicated team. We are here to assist.