Call Queue (Agent & Timing Options)
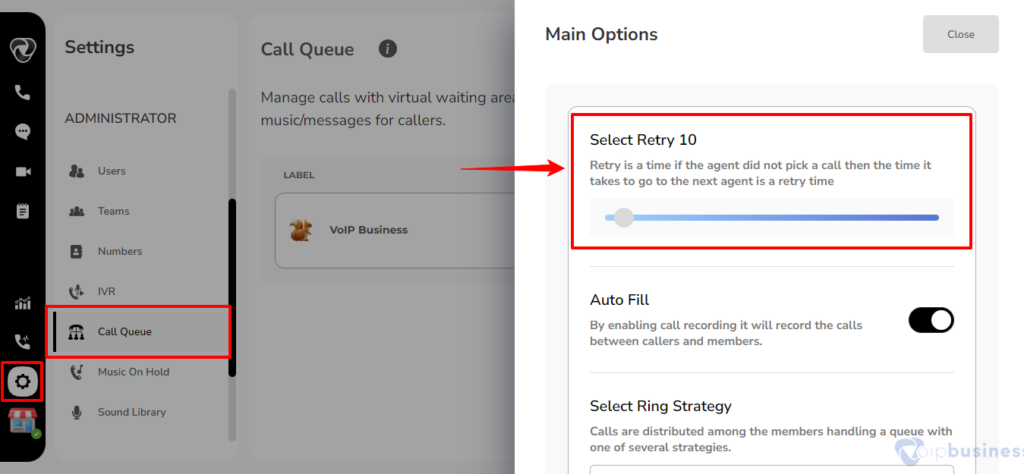
How To Select Retry Time?
- Retry time is how long the system waits before trying to send an unanswered call to the next available agent. Here’s how to set it:
- Select a call queue you want to edit. Go to agent and timing options and click configure. Scroll down and click change button besides Retry. Select number of seconds and click done.
Here’s A Breakdown Of The Key Elements:
Agent Unavailability:
- When a call goes to an agent, the system gives them a certain amount of time to answer. If they don't, the system starts the Retry Time countdown.
Retry Time Duration:
- This is the time the system waits before trying another agent. It is like a little grace period for the first agent to answer the call.
Automatic Redirection:
- If the first agent doesn’t answer in time, the system will automatically send the call to the next available agent. This helps make sure no calls are left unanswered.
Configurability:
- Admins can adjust how long the Retry Time lasts to balance giving agents enough time to answer while keeping customers happy.
Report Hold Time
What is Report Hold Time?
- Report Hold Time is a setting that lets agents hear how long a caller has been waiting before they take the call
- The choice between ‘yes’ and ‘no’ depends on individual preferences.
- When set to ‘yes,’ the system will announce the wait time to the agent, providing valuable information before connecting the call.
- Conversely, selecting ‘no’ excludes this announcement, catering to diverse user preferences within our communication dashboard.
How To Set Report Hold Time?
- Login to your account first.
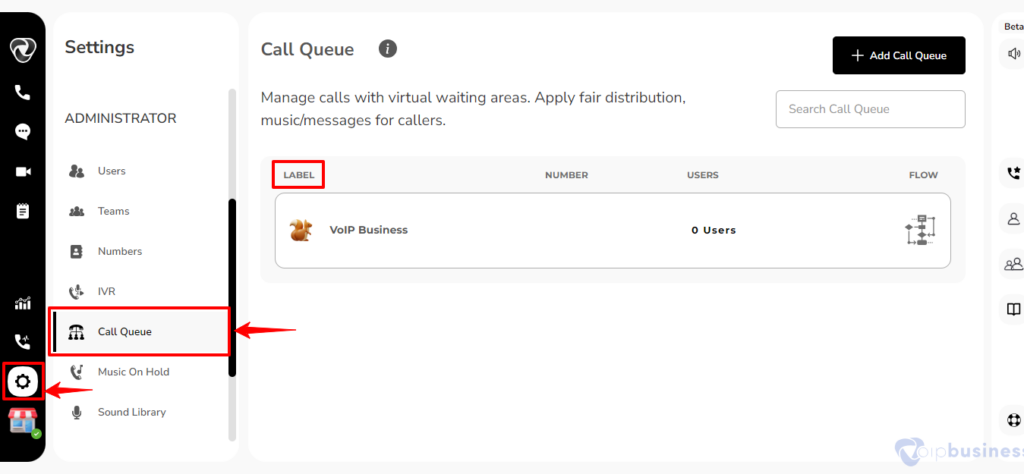
- Go the “Settings” icon positioned at the left-bottom sidebar.
- In Administrator Settings, choose Call Queue.
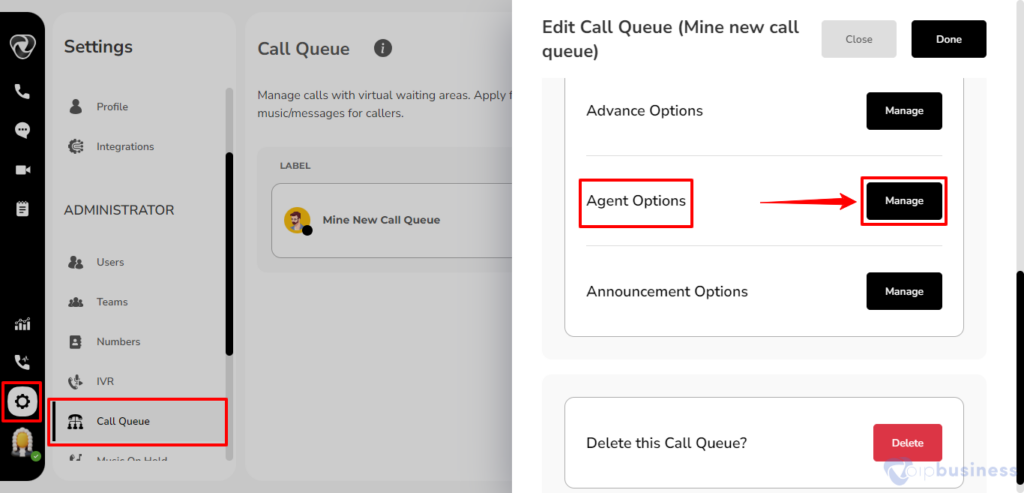
- Pick the call queue you want to edit.
- Scroll down to the Agent and Timing Options and click Configure.
- Scroll down and toggle the Report Hold Time on or off, depending on what you need.

How To Select Wrap Up Duration?
- Wrap-up time, in call queue in our communication dashboard refers to the period that a call center agent takes after finishing a call before they are ready to take another call.
- After finishing a call, agents have this time to make notes, update records, or prepare for the next call.
- The amount of time can vary depending on how complex the call was and what the business needs.
- Choose the call queue you want to edit.
- Go to the Agent and Timing Options and click Configure.
- Scroll down and click change button next to Wrap up time.
-
Select number of seconds and click done.

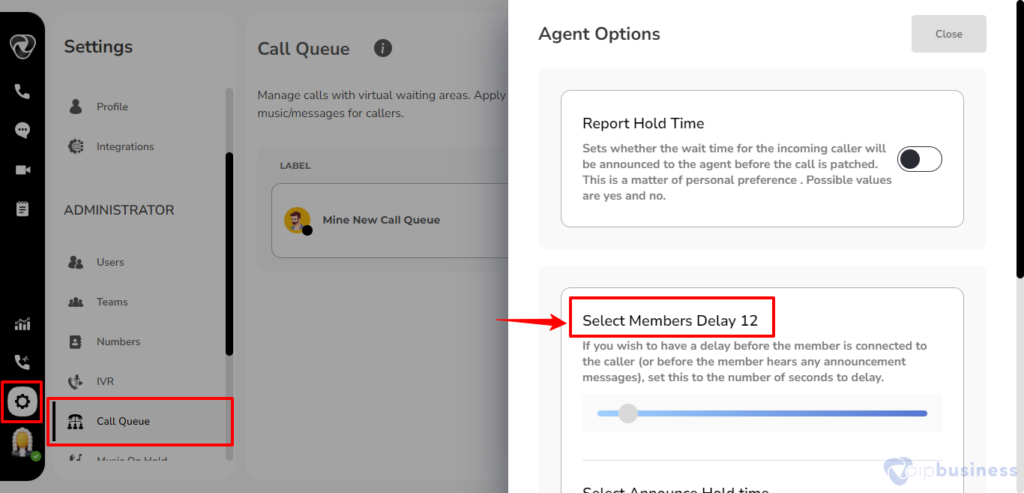
Select Members Delay
What is Select Members Delay?
- Member Delay is a feature that lets you add a short delay before an agent is connected to a caller or hears any announcements.
- his delay gives you control over how quickly an agent is connected to a caller, which can help make the process smoother.
How To Set Select Members Delay Time?
- Log into your account and go to the ‘Settings’ icon, situated on the left-bottom sidebar.
- In Administrator Settings, choose Call Queue and select the queue you want to edit.
- Scroll down to the Agent and Timing Options and click Configure.

- Set the delay time in seconds to match what you need, then click Done.